part #1, part #2, part#3
I've finally worked through the rest of the 6 hour DVD course by Ben Brownlee.
Here are the rest:
I've finally worked through the rest of the 6 hour DVD course by Ben Brownlee.
Here are the rest:
Exercise 9 - Dealing with Motion Blur (22:34 min)
Project objectives:
- Use the keyer to remove green screen.
- Create complex rotosplines in areas without greenscreen.
- Roto legs and feet.
- Analyse the footage to decide where to place the fewest number of shapes.
- How to animate complex shapes with bezier splines and avoid common errors.
- Use edge feathering to blend roto and keyed elements together.
- Work with SilhouetteFX’s built-in motion blur controls.
- Strategies for matching the natural motion blur in the footage.
Notes:
- Keys do not help with motion blur
- in some cases it is useful to make sharp edges and blur them out
- avoid breaking handles
- feather - for blending
- shutter phase is useful when motion blur takes more information than it needs to.
- shutter phase = shatter angle*(-0,5)
- SilhouetteFX is really fast mat. blur.
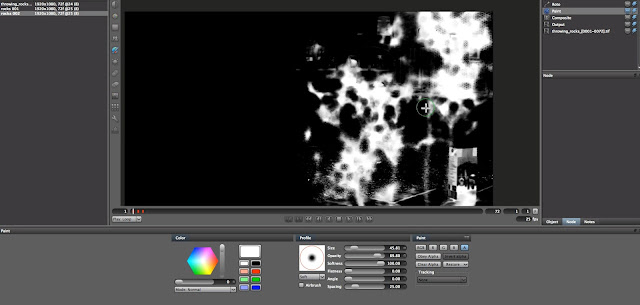
Result:
Project objectives:
- Explore the Effects node.
- Take a guided tour through the different effects.
- Quickly remove objects in the scene without using Paint tools.
- Obscure different elements to remove faces or branding, with Color and Blur.
- Stop these elements from standing out, through the use of the Grain effect.
- See Ben’s Pain/Reward scale when creating alpha channels.
- Check out the Paint node and see some similarities with the Effects node.
- Set up Clone brushes to effortlessly paint out unwanted objects.
- Get the most out of your Wacom tablet.
- Clean up your alpha channels.
- Avoid the Gotchas of paint.
Notes:
- Blur filter is useful when we have to obscure certain objects.
- To obscure elements use blur in conjunction with grain, otherwise it will stand out
- When cleaning alphas with paint, remember to keep consistency
- Do absolutely nothing
- Key/Create procedural matter
- Semi-automated Roto
- Manual Roto
- Paint
Result:
Exercise 11 - Getting Data In and Out (22:51 min)
Project objectives:
- What data can be exchanged in SilhouetteFX?
- Different tracking data that can be used from Imagineer Systems mocha.
- Create a simple point track out of corner pin data.
- Importing Shape data from other applications.
- See the differences between taking out shape data and rendering out mattes.
- Speed up the rendering of multiple shapes.
Notes:
- Tracking/shape/frame renders - data can be exported/imported
- SilhouetteFX is flexible, it is possible to import tracking data from various application like Mocha, Nuke. This is very useful when you work within environment where artists work on different systems and software.
Exercise 12 - Shot Breakdowns and Analysis (20:29 min)
Project objectives:
- Save time with the Top Ten for Shot Analysis.
- Revisit some clips we have used, and how to
- approach them with the skills we have learned.
- Use open shapes to create fine details.
- Discuss how to deal with loose cloth or any soft
- shapes.
- Final wrap-up.
Notes:
- Identify what you really need to roto. Do we need to roto ? Is it necessary to do hand roto or others techniques can be used.
- Track first - roto later. Good track helps stabilize the camera, makes whole roto work easier. Bad trackers are worse than no trackers. If bits of tracking data or whole tracking data don't work - trash them, and animate roto manually.
- Keep track data and shape separately
- Work on stabilize plate. The fewer possible keys you'll add the smaller the risk adding too many shapes and having bubbling matte. Which is very noticeable.
- Create the fewest possible shape with the fewest possible points.Minimum number of shape points. Plan your shot through. Analyse when you have to brake.
- Animate following the natural movement. Where things start and stop. Not every 20 frames, but try to figure out spacing and timing and animate accordingly.
- Add smallest number of keyframes necessary. If you find the mistake and you will have hundreds of keyframes. It is going to be complicated to fix this problem. It is better to start over.
- Don't be afraid to trash your work - to delete keyframes, shapes, tracking data\
- Keep shapes consistent!!!
- Look out for motion blur and out of focus elements.
The course is finished.
Useful and informative, however some parts I feel that I need to explore more deeply. It will all make more sense when I start working on real world projects. Keep practicing.


 linkedin


No comments:
Post a Comment